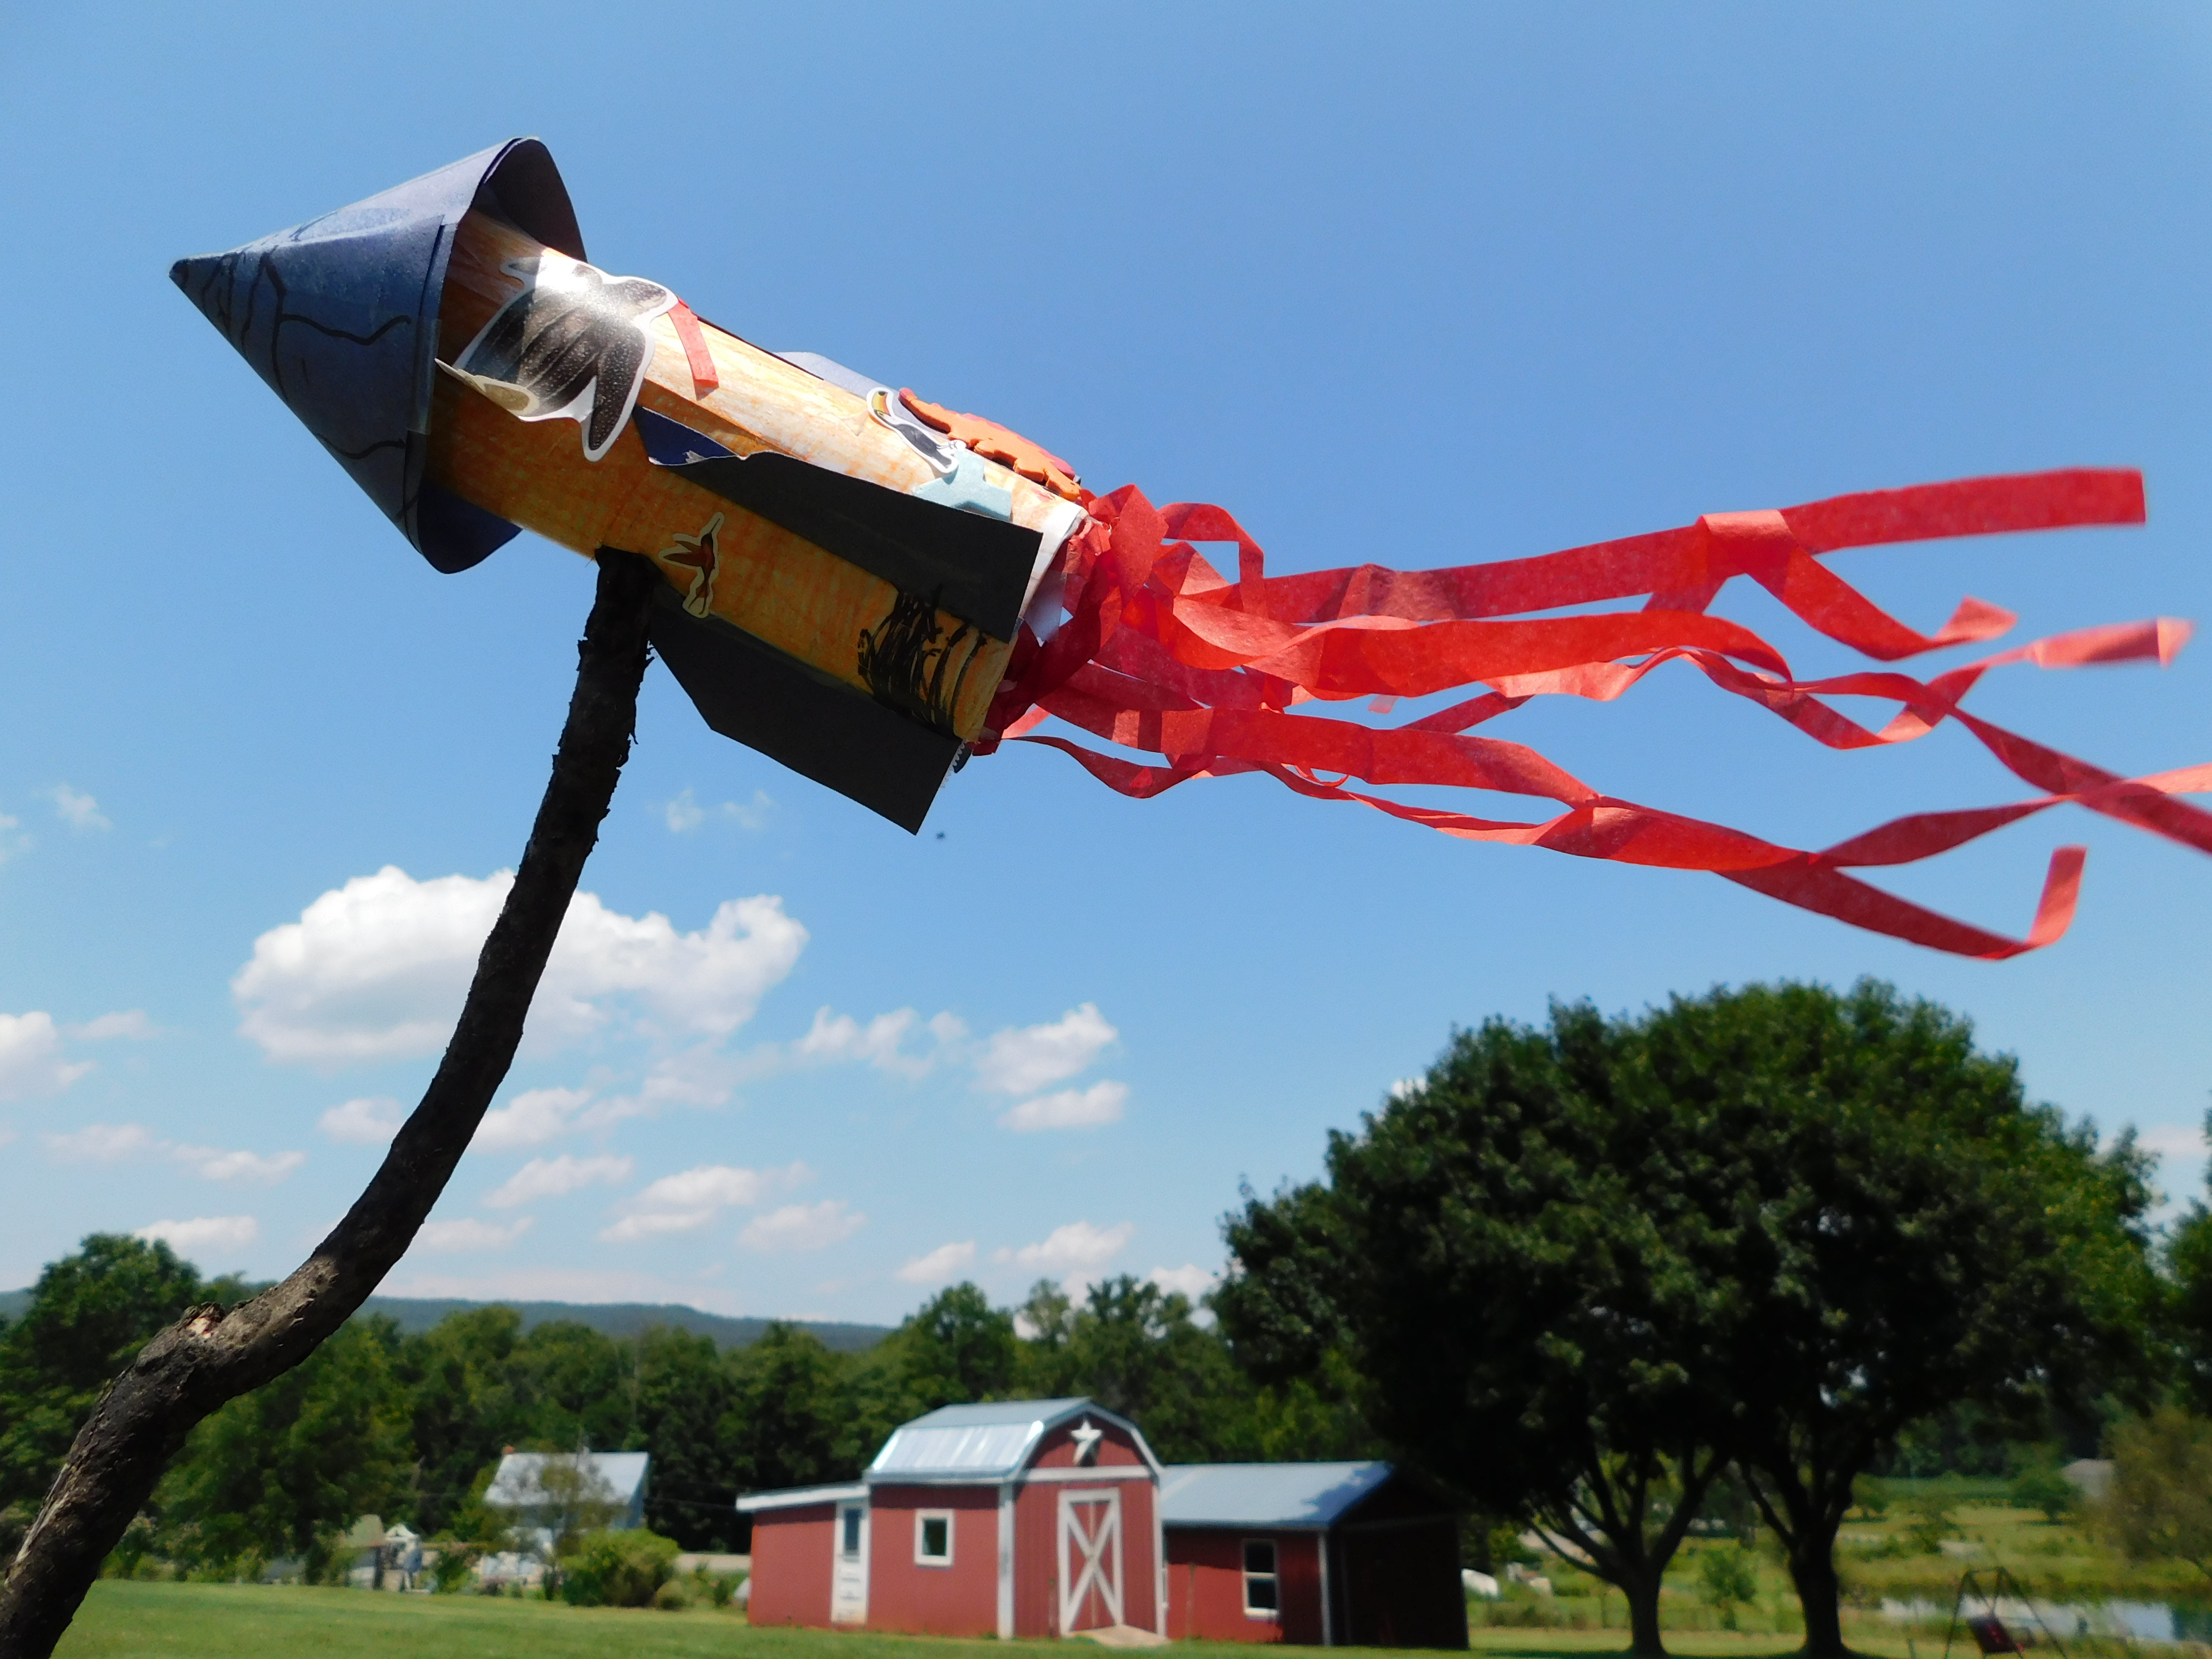
Flying Rockets guide the imagination. This kids art activity that uses recyclable products to construct fun Flying Rockets that stretch the imagination. Depending on the child and their experiences. For instance, they could think about the explosives involved. Or the excitement of where the flying rocket will travel. What land and creatures will it encounter? Whatever the playful thoughts are, sometimes children need an adult to spark the creative imagination.

Being a mom is hard work. When I was younger, I had cousins my age, children on my city block, and siblings to play with. We did not have a lot of toys, but it was enough. Somehow we occupied ourselves. Now with my own two children, I find that I have to organize their play. Somehow I feel obligated to keep them engaged and active. We do not live in a city, nor are there cousins their age. In addition, my husband and I refuse to sit our children in front of a screen for hours a day. How about you? What do you find different from your childhood compared to your children’s childhood?
If you give a mouse…
Amazingly, there are many television programs that are based on children’s books today. Personally, I think these kinds of programs are wonderful. Many times my children are excited to visit the library and get additional books related to the television show. Recently, my children started to watch the series on Amazon based on Laura Numeroff’s books with cookie mouse.
In one episode, my children picked up on a flying rocket the characters made. So I told them that we could make one. As a result, I started to look for things in books and television that my children would enjoy duplicating. Netflix has a show titled, “Creative Galaxy” in which we were able to make idea boxes. These were great fun. My children carried these boxes around with personal things inside to keep them busy.

How did we make the rockets?
Step One:
First, gather the supplies. We used whatever we had available like bathroom tissue tubes, any kind of paper, tape or glue, drawing media, and other decorative supplies. Ideas for paper are computer printer, construction, scrapbook, and wrapping paper. Even your child’s old school worksheets would add some interest. Additionally, decorative supplies could be stickers, gems, ribbons, tissue craft paper, and other light-weight items. We used the tissue craft paper for the rocket streamers, but party crepe paper would work too.

Step Two:
Next, we choose our paper, rolled the tube, and taped it in place. The tape was a better choice for my children to keep the mess limited. After we taped it in place we just cut and trimmed the extra paper off. Then I traced a large circle on a colored paper and the children cut the circles out. The following step is a little difficult. I folded the circle to find the middle point. Then I cut a straight line toward the middle, so the circle could be overlapped to make a cone. Here is an opportunity for the teacher in me to explain to the children that the cone and the tube are forms and not shapes. Cones and tube cylinders have 3 dimensions. Three-dimensional forms have roundness with height, length, and depth.
Step Three:
Now the next step is a little difficult. An adult may need to help younger children. When taping the cone to the tube or frame, it is better to place part of the tape on the end of the frame and attach the cone. Then a pair of scissors was used to press and rub the tape into place. I used three pieces of tape to secure the cone to the frame.
Step Four:
Once the two forms are attached, I folded the paper to cut and make the rocket fins. After it was folded, I drew a diagonal line and cut the line. Since I folded the paper twice, I received four triangles. The four triangles were folded on the longest side and then three were taped to the frame. Before taping the fins to the structure, it looks like a castle tower. Therefore, the fins help resemble the rocket.

Step Five:
Okay! Now your children will have free range with all the decorative supplies. I used marker and tape to place the sequences on my demonstration rocket. My children wanted to put lots of stickers all over their rocket frames. It would have been nice to see them decorate the cones. Finally, the children attached their craft tissue streamers to show the explosive fuel blazing behind their flying rockets. Dollar store Christmas garland worked well for my rocket. Lastly, I poked a hole in the middle of the frame on the least decorated side and we found tree twigs to use as handles. Then we went outside running with the rockets flying high in the sky.
Wrapping up:
Here are some extra facts. The cone form on a rocket is called the nose. Sometimes the crew of the vessel is stored in the nose. If not the crew then other needed materials are in the nose. Also, the nose may have a guidance system.
Story-telling:
As your children run about, explore storytelling. Where are the rockets going? Where will they land? What happens on the way? Who or what do they encounter? Imagination starts with questions and a little prompting.


