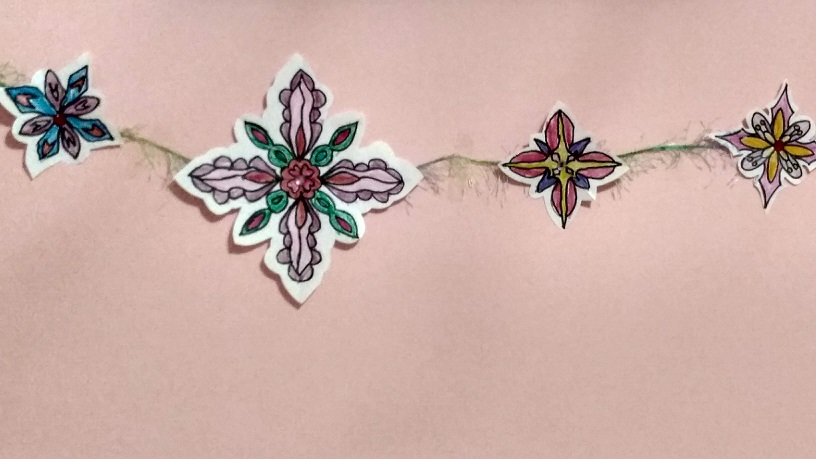
It is April and you know what that means. Lots of color is popping up with those beautiful flowers. Do you wonder how to draw different flowers with lots of lines? Recently, I got to thinking that everything I draw starts with line. And you know what I have discovered that I really like lines. How about you? Do you like lines? Have you ever thought about how lines make up a lot of things? Currently, I was teaching my students how to draw different flowers with lots of lines. So I thought I would share my lesson here.

How students responded to how to draw different flowers with lots of lines:
Surprisingly, all the students enjoyed successful results. At first, there was a some grumbling. But as your students see the variety of flowers they can achieve by arranging lines in a specific order, they will be amazed. They learned how to draw different flowers with lots of lines that they did not know how to do before. Most enjoyed how to transform the basic flowers symbol, roses, and the butterfly bush style flowers.
How do you start to draw different flowers with lots of lines?
First, start with the familiar. Like the bumpy and zigzag flowers. You can see below. Then demonstrate how drawing additional lines around the basic or symbolic flowers makes different flowers.


Second, show the basic tulip flower shape. Many students draw a tulip like the one shown. Then show them how to improve on it. It is all about line.


Filling the space to develop your drawing of different flowers with lots of lines:
After you have demonstrated and student have enhanced the basic flowers, then continue to encourage overlapping. In addition, the flowers need to be drawn at the top of the page. By drawing at the top, the student will have an opportunity to draw a flower container like a vase or pot. Now you will introduce new flowers with different lines.
Roses and Butterfly Bush
How to draw different flowers with lots of lines helps student draw roses and butterfly bush style flowers. Originally, students draw a swirl flower like the one depicted below. But directing student to elaborate on the swirl gives more detailed rose-like flower. Just use a swirly line with some curves and waves and you have a rose. Also, students ask how to make the bushy flowers. By drawing a bumpy-wavy line in a long triangle shape the little flowers that are bunched together develop. Lastly the flower that has its center exposed is fun to try. Start with a dome shape made with curved lines and add a bumpy line. It is that easy to draw different flowers with lots of lines.


Complete the drawing of different flowers with different lines:
Once all the flowers are drawn, then you want to give directions to complete the drawing. Adding stems, giving options for flower pots/vases, and providing color are great ways to complete the drawing. However, students need some guidance with drawing stems behind flowers instead of around the flowers. In addition, model how to use value to make the flower container look rounded. If you enjoyed this lesson, then you may enjoy the lesson titled How do you teacher color in the virtual world.
Why do we like flowers?
Moreover, the question stands. Why do we like flowers? Of course flowers have diversity, brightly colored, and have different shapes. Likewise, they brighten one’s home or day. Especially, with the concept of gift-giving, which many students will want to give their flower picture to a loved one.
Check out the following YouTube Video:


