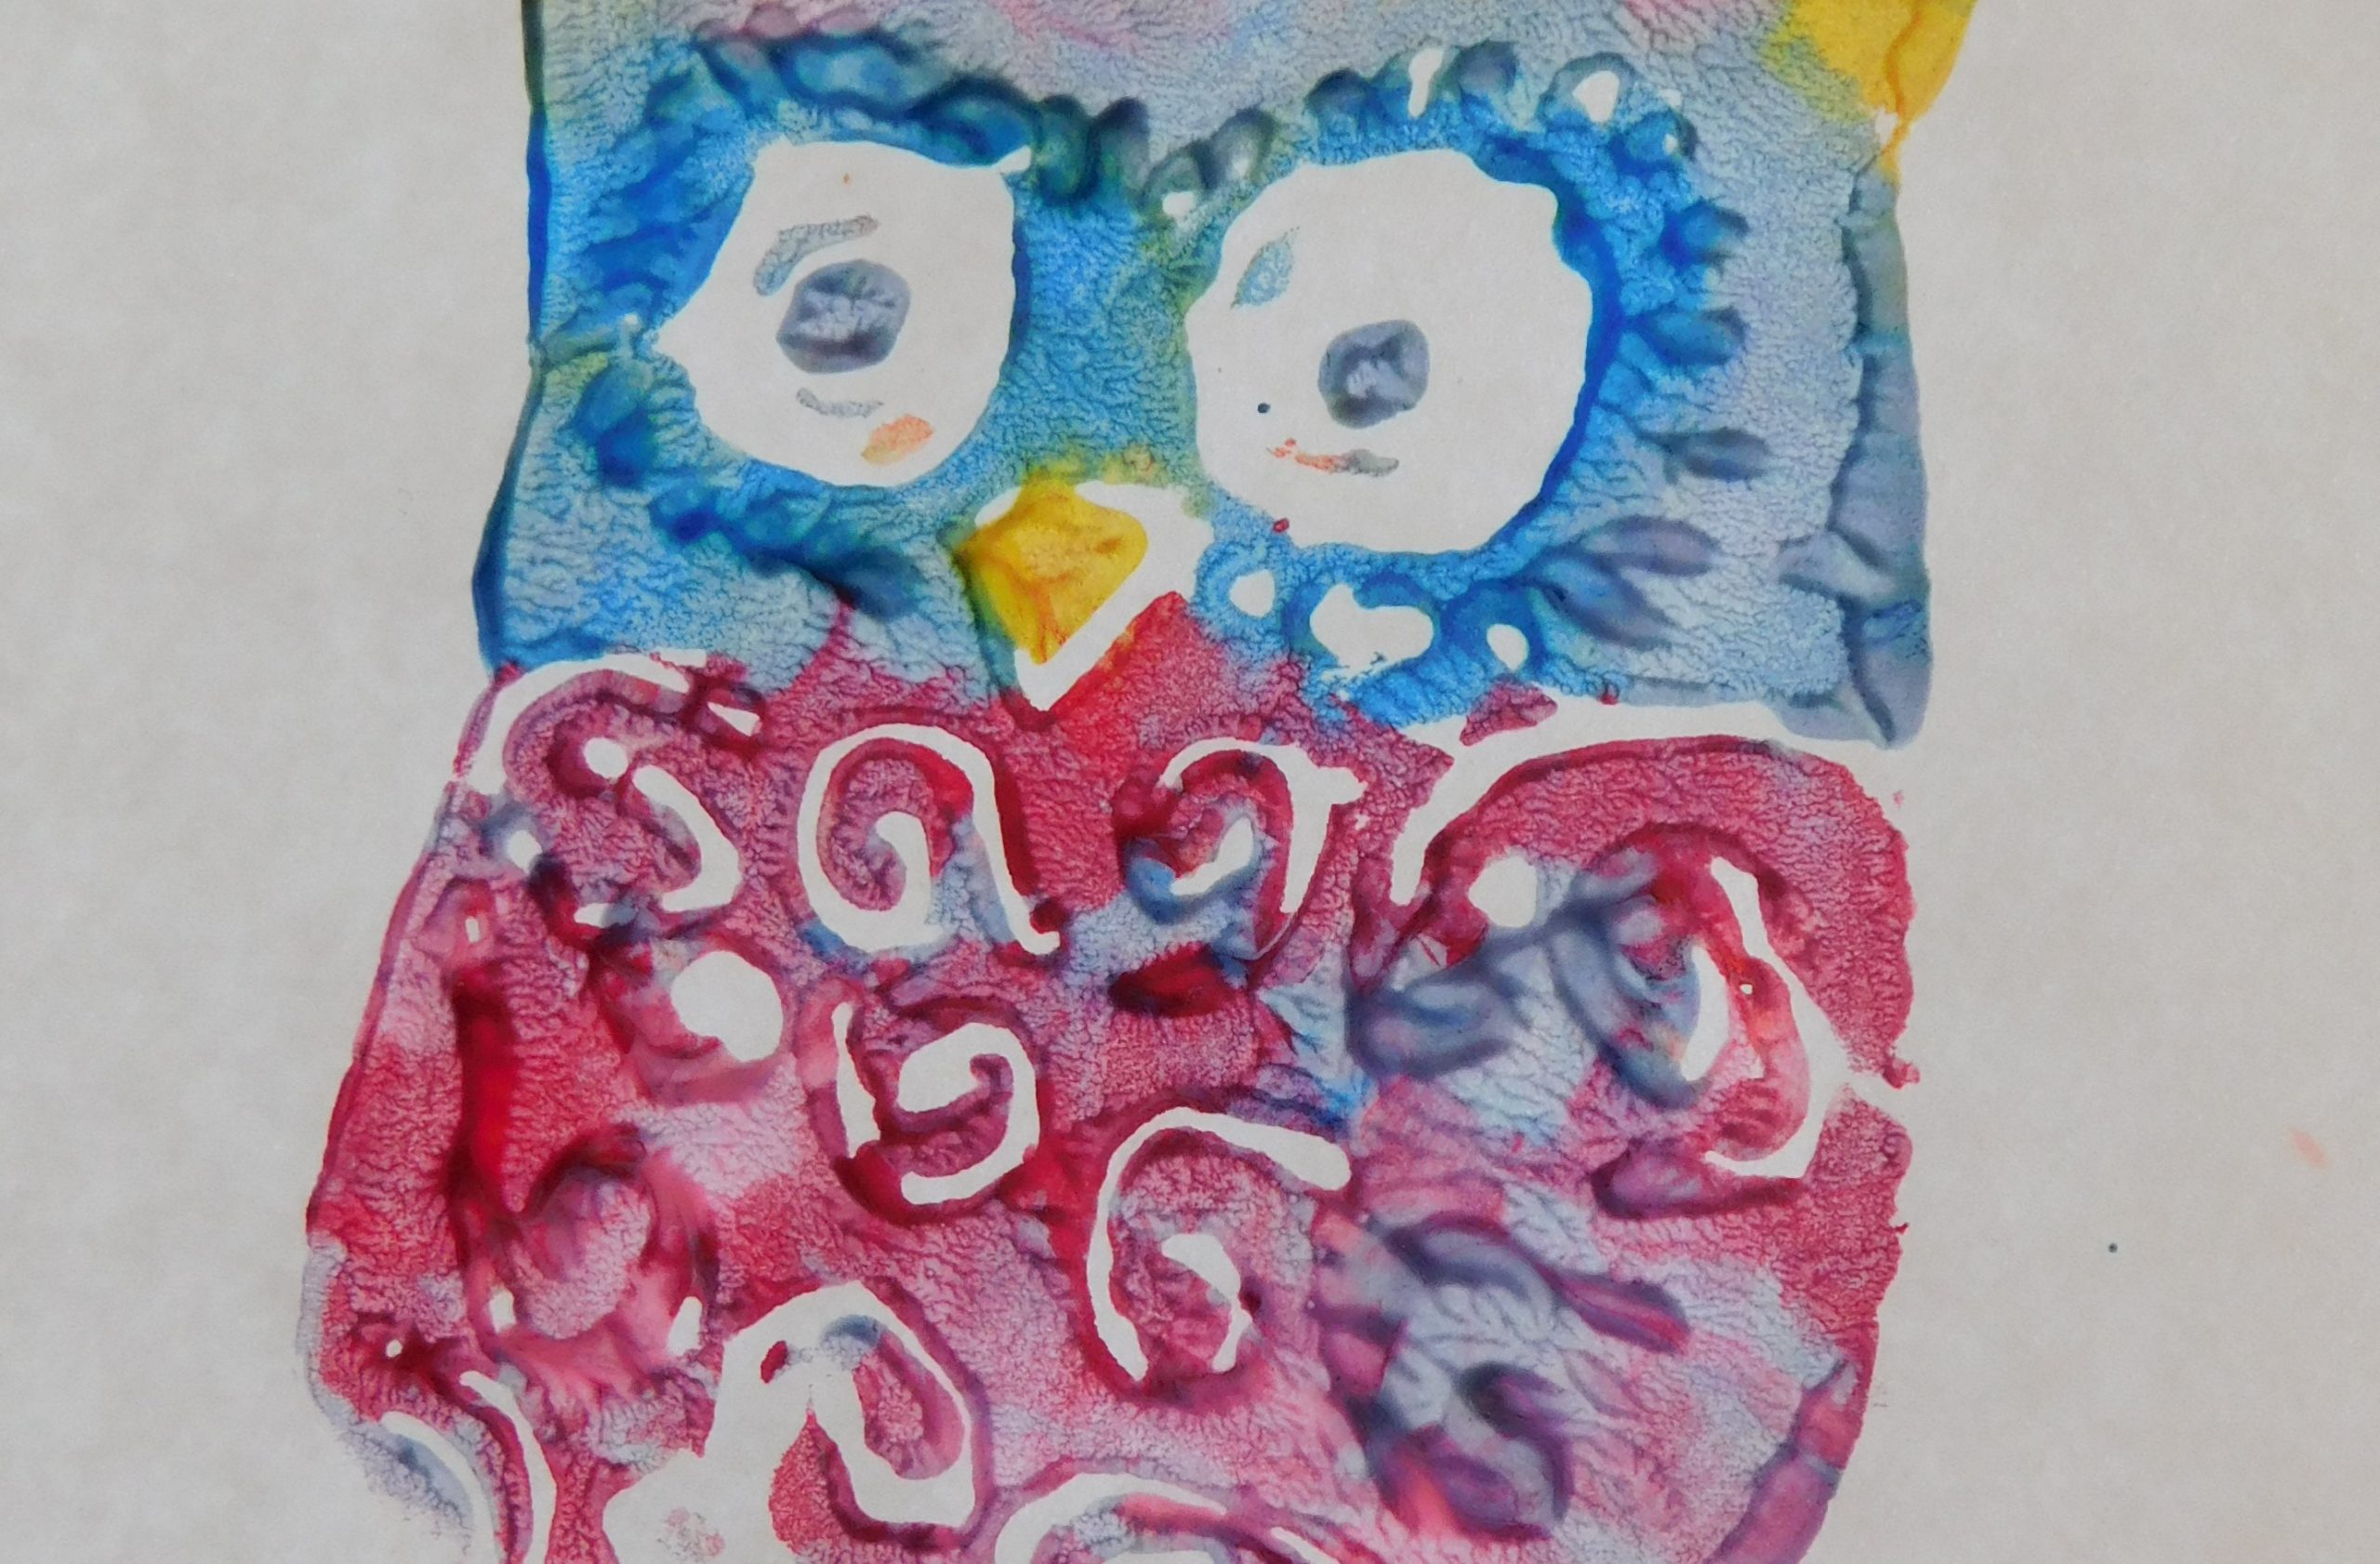
Owls are a popular images now days. My daughter enjoy owls. So much that she stated that when she grows up that she wants to be an owl, so she can fly. As a result, we did some printmaking of owls. Printmaking owls activity invite kids to use line and color to make more then one copy.

What is needed?
Printmaking Owls will require a few supplies. First you will need Styrofoam. Vegetable or meat packing foam plate will do. Of course, wash well. Second you will need paper, tempera paint, brushes, pencil, scissors, and paper towels. Next, you will need containers to hold water that cleans brushes and cleans the printing plate.
How did we print our owls?
To start cut out the overall shape of the owl’s body. Then use a pencil or the brush handle to dig and carve out the details. However, be careful not to push to far through that a hole goes through the printing plate. Possibly, the child could draw lightly their designs and then a parent may press in on the design to keep the depth in check.
The paint colors are brushed carefully across the surface of the plate. If paint seeps into the valleys, then the print will be blotchy or blurred. So printmaking owls may lead to many prints, until you and your child get the hang of it. But even with the blotchy prints, they may be drawn on when they are dry. After they are dry, colored pencils, markers, or sharpies will define further details. So none truly go to waste.


Greeting cards

Since printmaking owls leads to many prints, a set of greeting cards is a nice production. Cut and fold your sheets of paper. And do not forget to guide your child to print on the correct folded side of the paper or the card will be backward or upside down. These were used as invites to my daughter’s birthday party. To make them different, you will need to wash them between printings. Lay them in a container of water and brush over them. Then take them out and pat dry with paper towels. Then apply another set of colors. Place your paper on top of the plate and rub from the center out with your three middle fingers, bunny ear fingers, or the back of a spoon. And do not forget to rub everywhere. Clean and repeat.
The fun thing about printmaking owls is the diversity of designs and colors that your child may come up with.

